The succinct story of a modest little footstool-- involving datasheets, cnc routing, laser engraving, plywood, glue, chips, all-thread, angle grinders, mountains of sawdust, dowel rods, spray paint, and a picture of a cat.
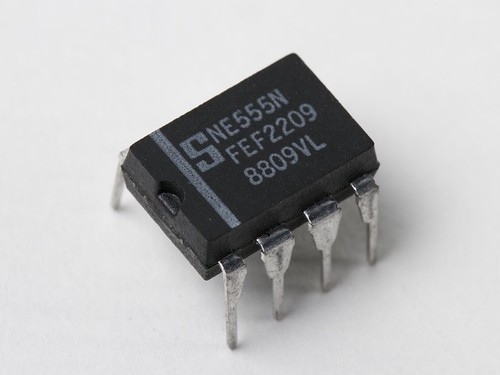
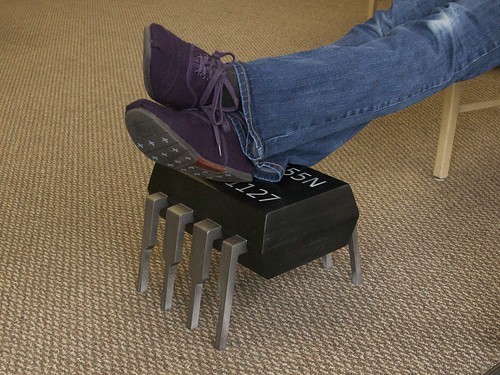
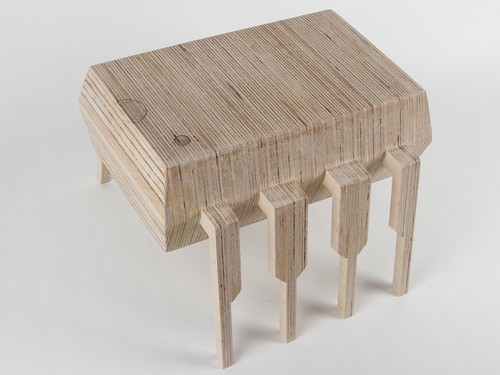
We wanted a new footstool at the lab, and somehow came across the idea of making it in the shape of our hero above, the 555 timer chip.
We started our design by looking at the datasheets, and found a few good dimensional drawings that we could scale up. Our model is roughly 30 times actual size at 12 1/2' long, compared to 0.4' for a genuine 555 chip. More importantly, it's a little over 8 1/2' tall, which we determined to be a good height for a footstool.
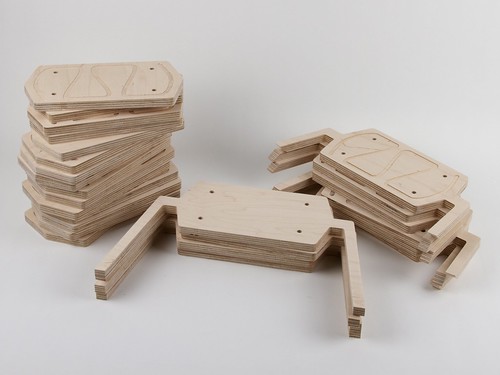
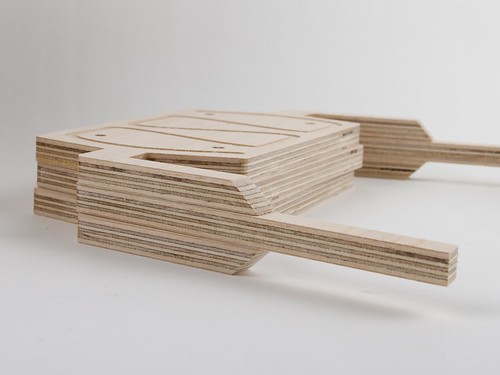
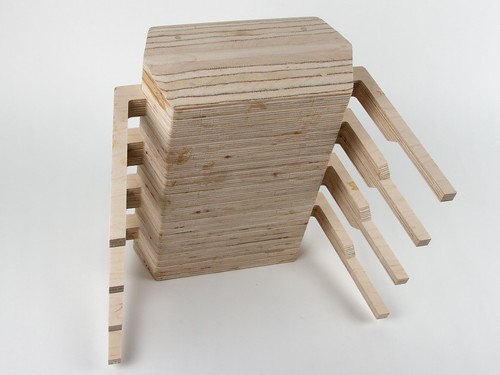
The first stage of construction was to cut out a stack of 1/2' thick plywood shapes on a CNC router. We used a strong and dense grade of hardwood plywood for this, since there are thin parts that need to be strong. There are 15 elongated hexagons, six with short legs, and four with long legs. Note that every shape has four alignment holes through it.
To get the right lead shape, we sanded down the edges of the 'short leg' pieces before laminating them together.
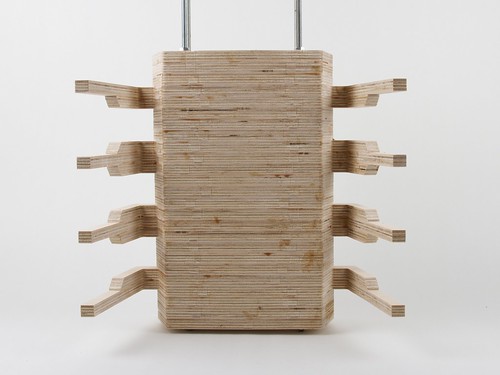
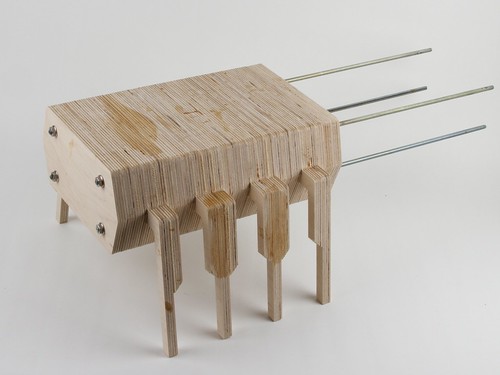
We used long rods of 1/4-20 all-thread to align the 25 shapes into a vertical stack, and bonded them with wood glue. The whole stack was clamped tight for gluing by tightening 1/4-20 nuts on opposite sides of each rod.
After the glue had set, we removed the all-thread and hammered in long 1/4' wooden dowel rods to fill the holes.
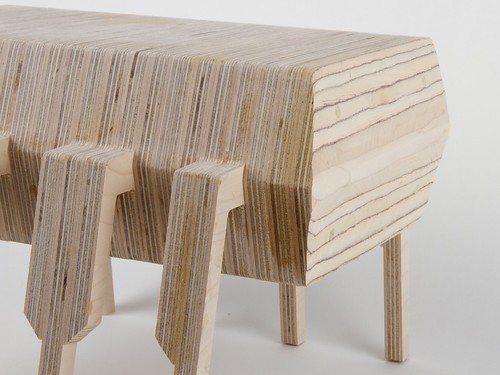
If you look closely, you can see that we angled the end-faces of the chip, including the ends of the wooden dowel rods. To make the angled surfaces, we used an angle-grinder equipped with a sanding flap disc. (This is a highly efficient tool for sculpting wood, but requires a light touch and produces a staggering amount of sawdust.)
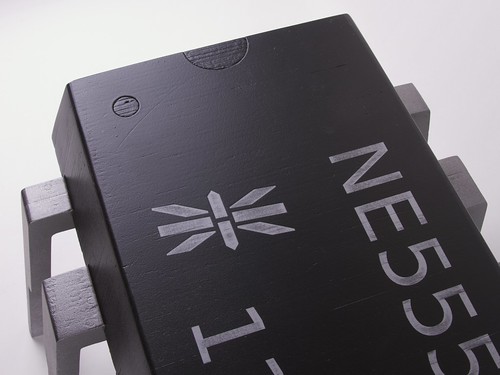
We made the polarity-indicating 'dot' and 'notch' by laser engraving. Next time that we make these, we're going to engrave deeper or cut those by other means-- they aren't as visible as we had intended.
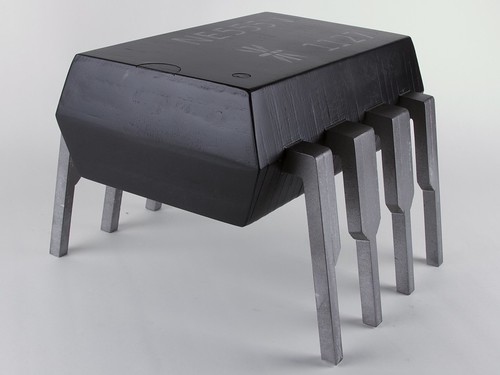
The paint was applied in several layers. First we applied a gray primer coat over the whole chip. We then painted the top and bottom of the main body black.
To get the markings on the top, we use a laser engraver to ablate the top layer of black paint, revealing the gray primer below. We then masked off the 'black' areas of the body very carefully before painting the legs silver. Once that was all dry, we finished off with a layer of 'frosty' matte clear spray paint over the entire surface, giving a better appearance to both the silver and black areas, as well as protecting the engraved area on the top.

Here, an actual 555 timer chip is shown for scale.
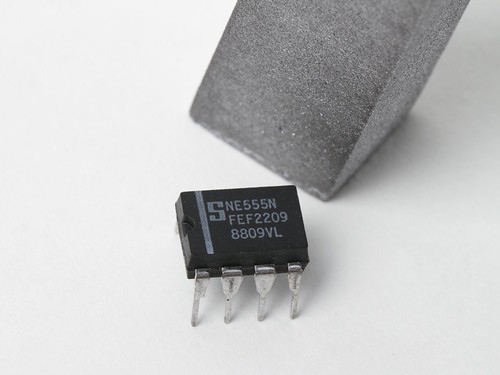
A bit closer in, all you can see is the leg of our chip.
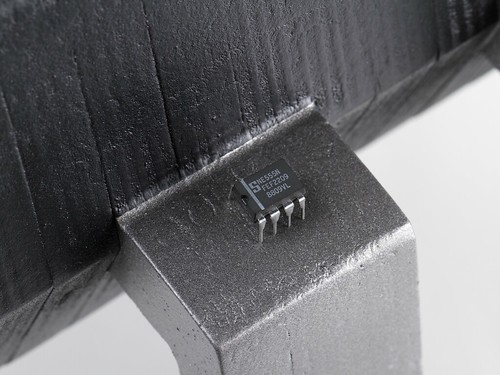
Either our 555 is standing on the shoulders of giants (giant 555s, that is), or perhaps our giant chip just has a chip on its shoulder.
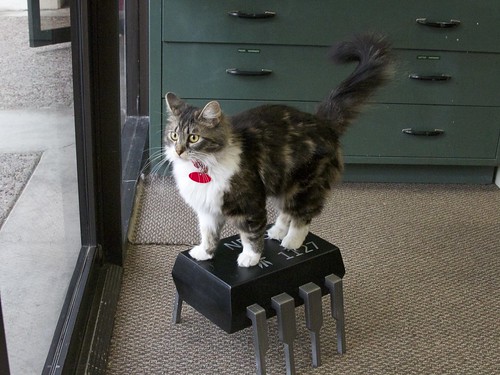
'Measuring 0.9 inches from whiskers to tail, lab-cat Zener is one of the worlds smallest cats.'
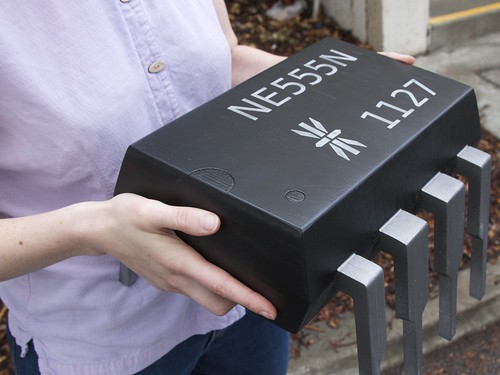
It's remarkably sturdy and heavy due to the hardwood plywood and laminated construction.
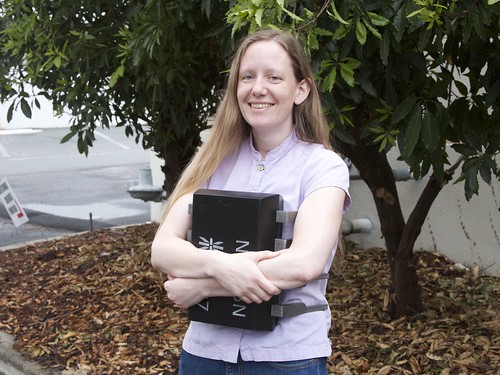
And yet, surprisingly cuddly-- almost like it wants to hug you.
All in a day's work.


Nenhum comentário:
Postar um comentário