In this icon design tutorial we will learn how to make a sweet and tasty donut icon from an initial sketch. So let’s begin, and remember: don’t try to bite the screen!
Tutorial Assets
The following assets were used during the production of this tutorial.
Step 1
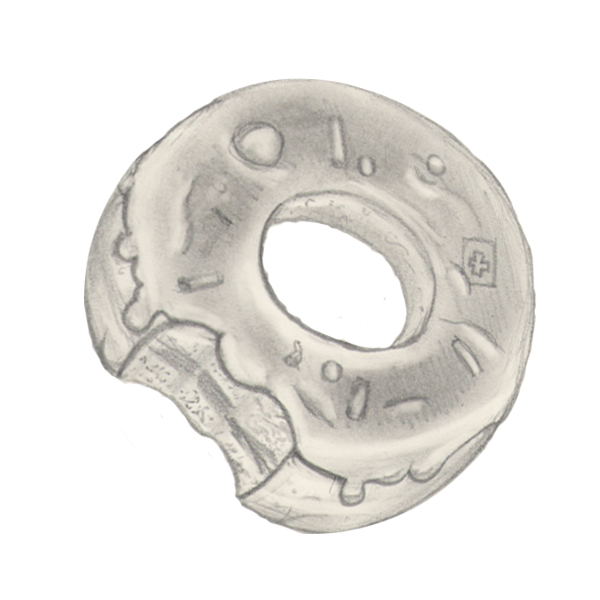
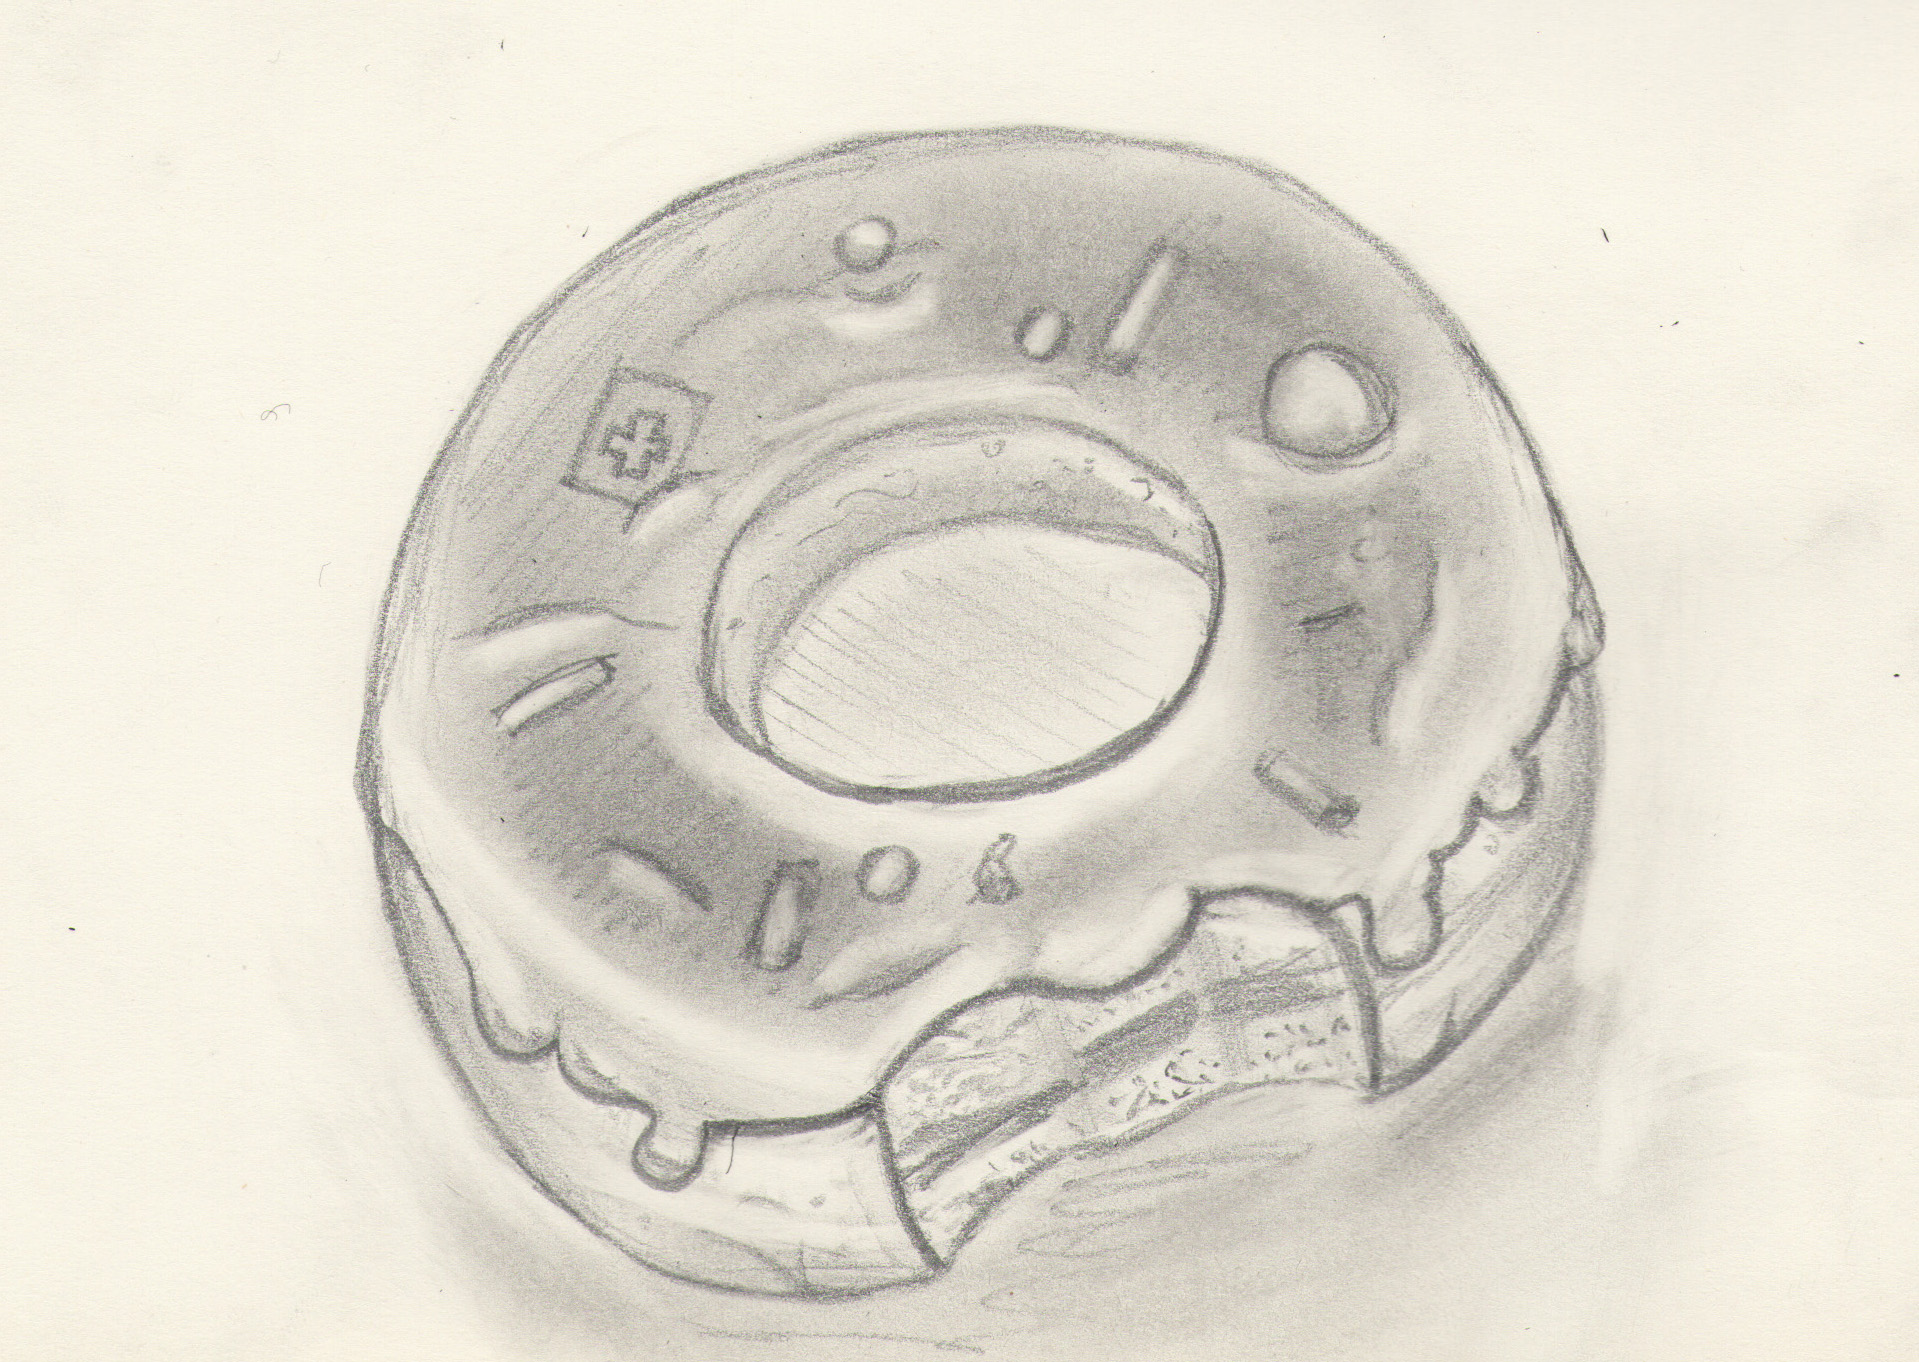
As you probably see the first step is to draw a donut with pencil and paper. There’s no need to be precise because it’s only a reference image. Otherwise you can download my own sketch from assets.
Step 2
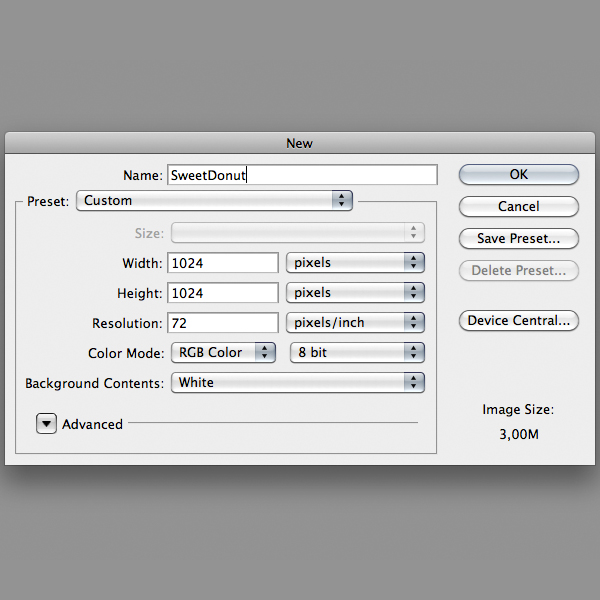
In Photoshop, create a 1024×1024 pixel document and import the donut sketch, you can also alter the donut with the Free Transformation command by pressing Command/Ctrl + T while the donut layer is still selected.
Step 3
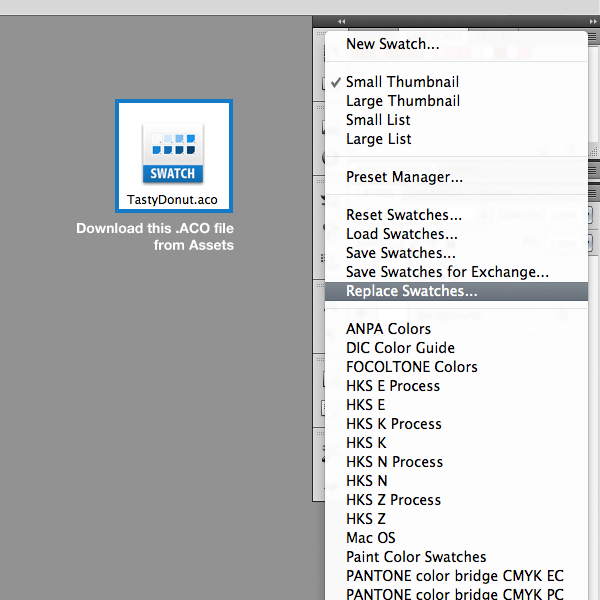
For this project I created a color palette, you can download the .ACO file from Assets. On the Swatches Palette click the option menu button and select Replace Swatches to load the color palette.
Step 4
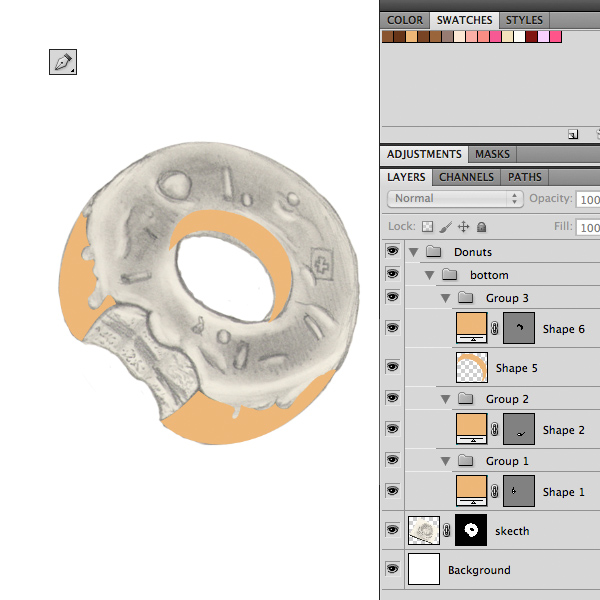
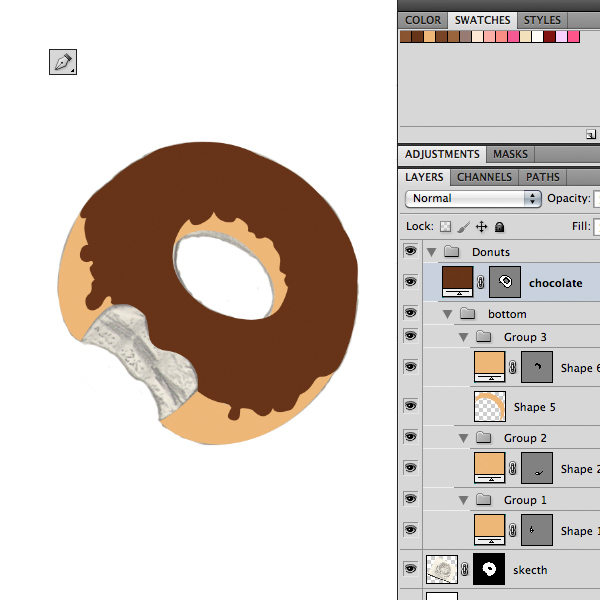
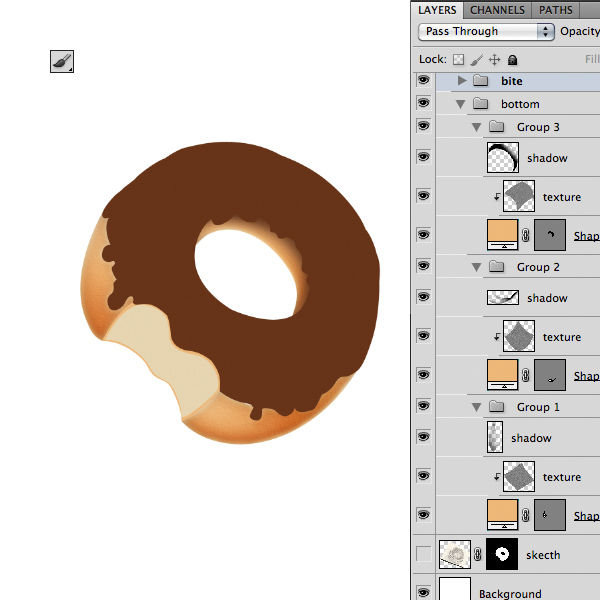
Let’s start with the bottom parts. With the Pen Tool (P) begin to trace the donut as below to create the shapes. Then select a creamy color from the color palette. Also keep your layers organized in groups.
Step 5
The next step is to draw the chocolate shape and select the appropriate color from the Swatches Palette.
Step 6
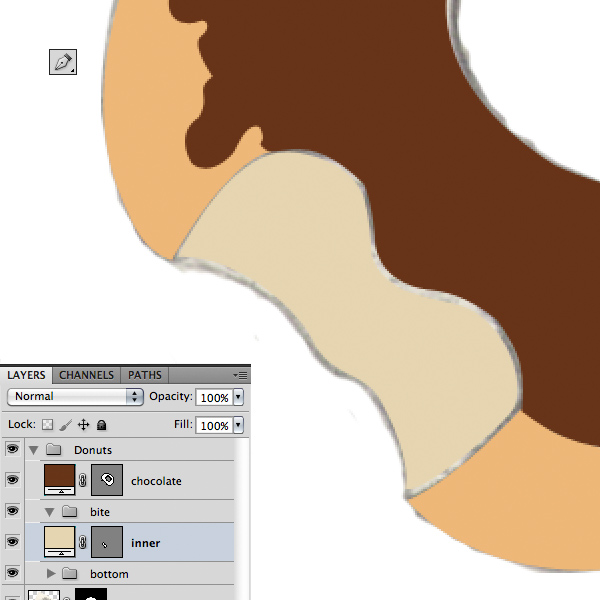
As usual draw another shape for the inner bite part. Use this color: e6d5b0.
Step 7
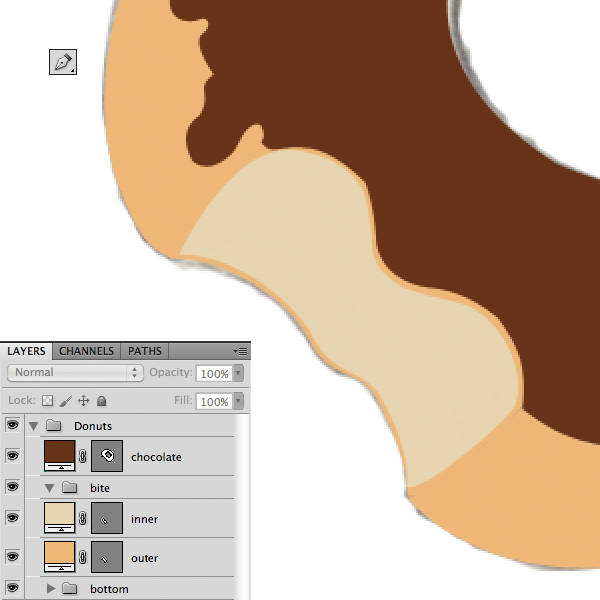
Draw another shape to define the thickness of the donut. Use the same color of the bottom parts. You can disable the sketch layer by clicking on the little eye icon in Layers Palette.
Step 8
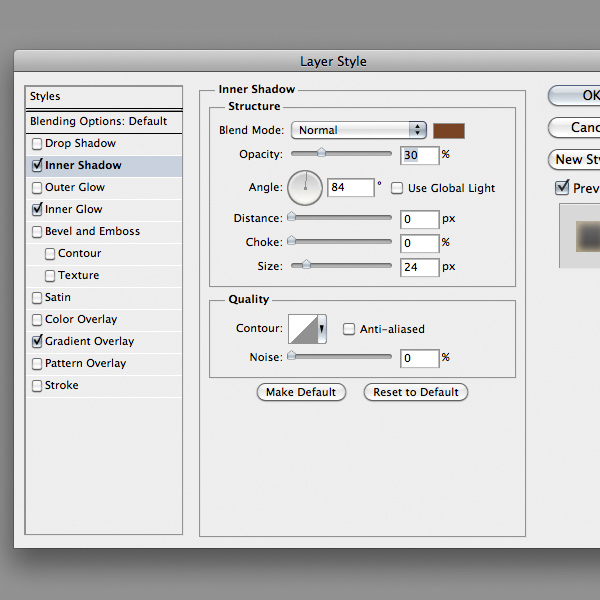
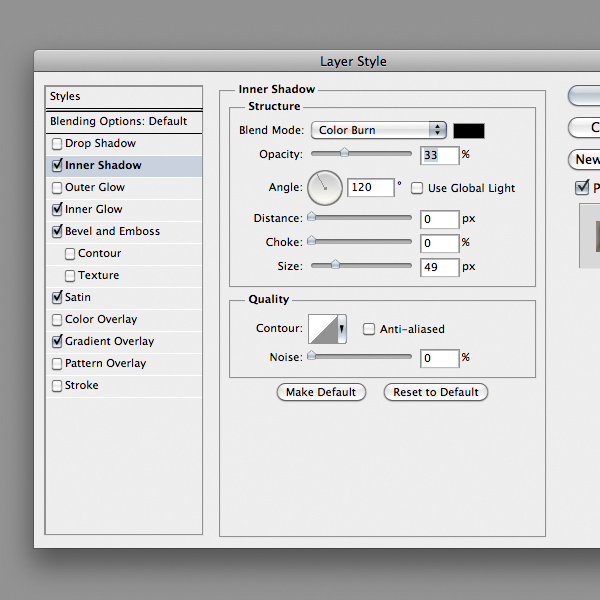
Double-click on a bottom part layer in Layers Palette and add the following Layer Style. Do the same with the other parts, but remember to alter the values of Inner Shadow propriety correctly to the light direction. Use the image below as a reference.
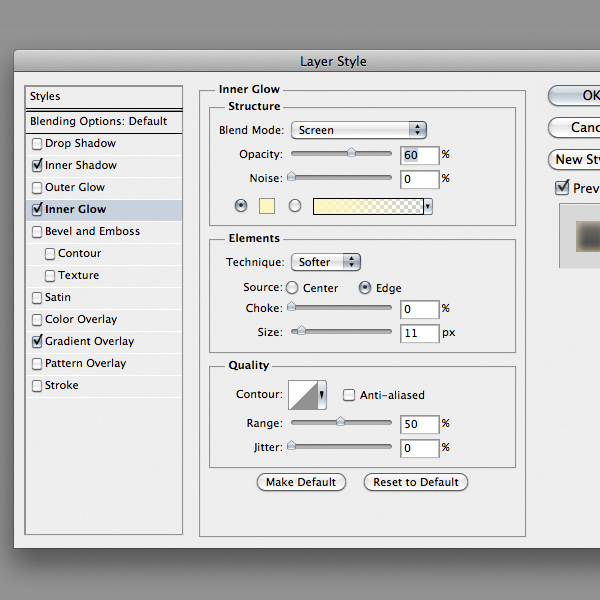

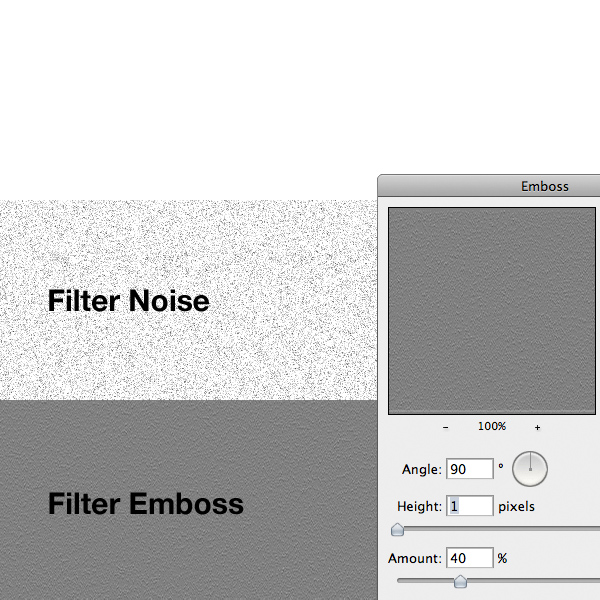
Step 9
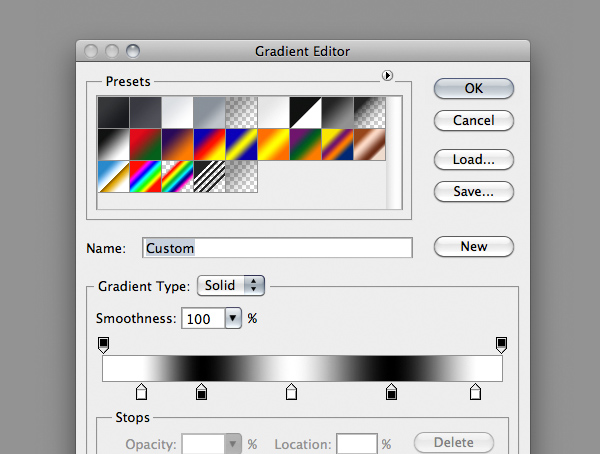
Now we have to create a texture for the bottom parts. Create a new layer and fill it with white. Next go to Filter > Noise > Add Noise and select a value around 20%. Then go to Filter > Stylize > Emboss and set the values as the image below.
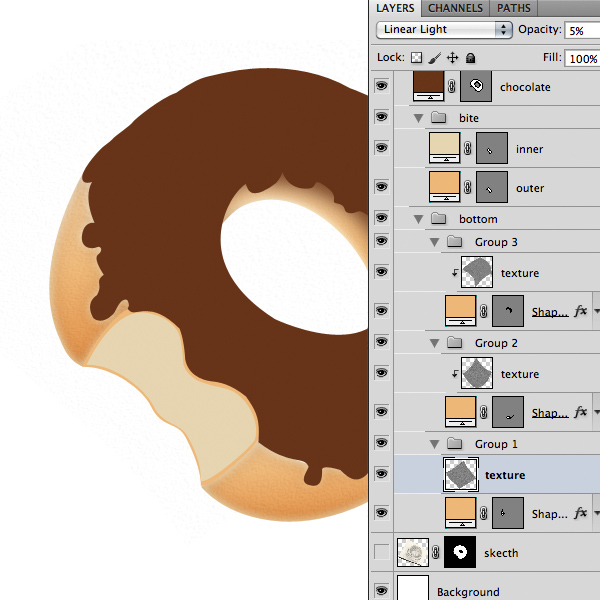
Step 10
Rename the layer as "Texture" and set it as a clipping mask by clicking on the line between the two layers while holding down the Alt key. Decrease the layer opacity to 5% and set the blending mode to Linear Light. You can transform the layers, as I did, to follow the shape of the donut by pressing Command/Ctrl + T on a texture layer. Repeat this step for each bottom part. There is no need to create a new texture, just duplicate the previous one by pressing Command/Ctrl + J.
Step 11
In separate new layers, select the Brush tool (B) with a soft brush and paint some shadows using a black color on the bottom parts as below. Set the blending mode to Soft Light. If you want try to decrease the layers opacity. Each shadow must be placed in separate layers.
Step 12
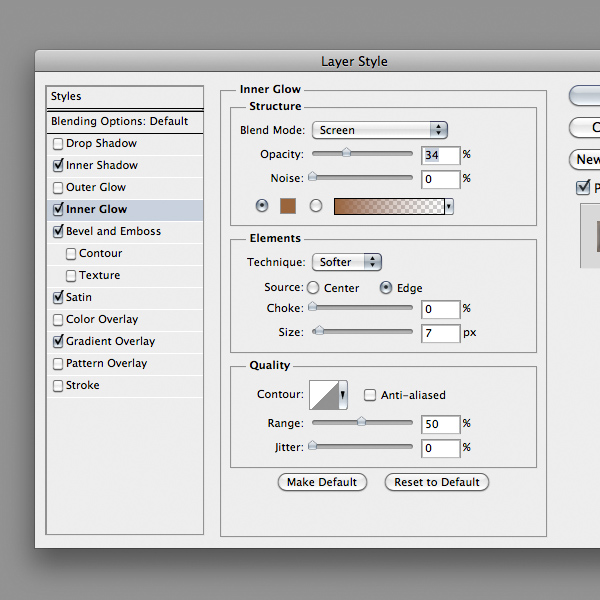
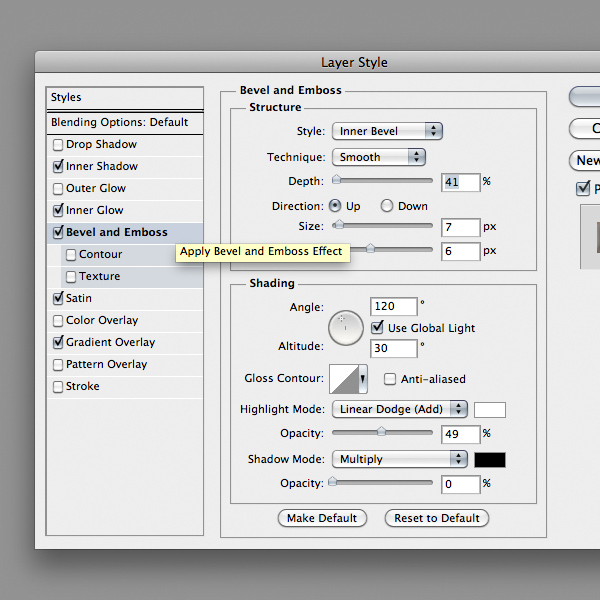
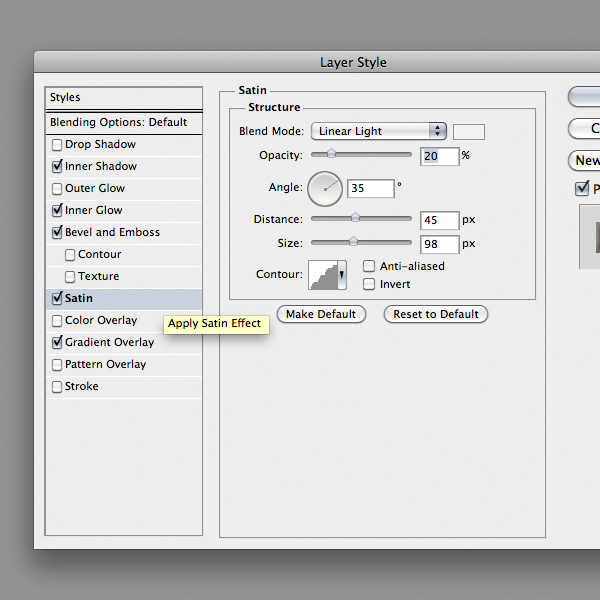
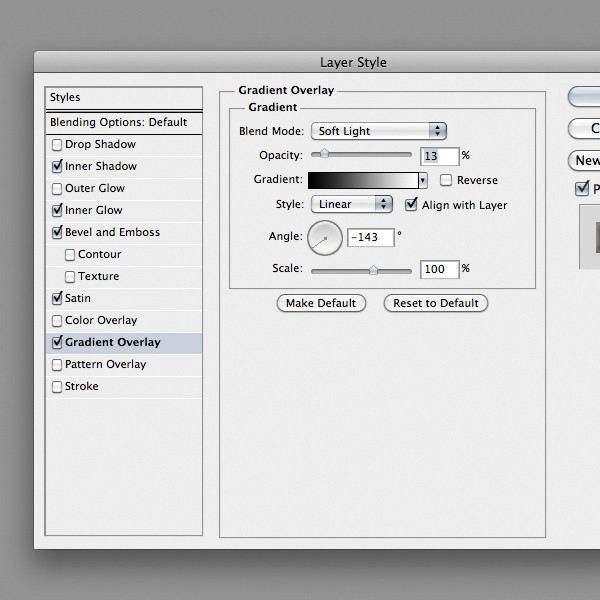
Next add this Layers Style to the inner bite layer. The gradient should follow the bite direction. So pay attention at the angle value.

Step 13
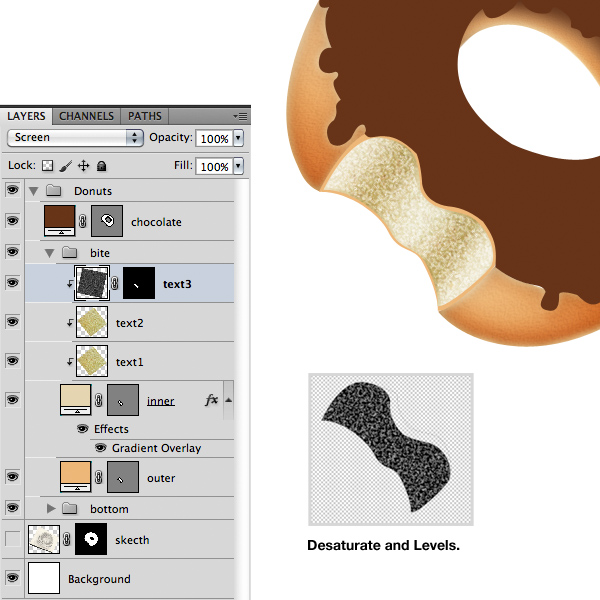
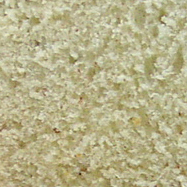
The next step is to create a texture for the bite part. This time I used an image reference, you can download it from assets. Drag & Drop the texture inside the document and duplicate it the layer two times by pressing Command/Ctrl + J on the keyboard. Set the first two as a clipping mask on the bite inner part. You can move them with the Move Tool (V), finally set the opacity to 30%.

Step 14
Select the third copied texture layer and press Command/Ctrl + Shift + U in the keyboard to desaturate it. Next press Command/Ctrl + L to open Levels Adjustments windows and increase the contrast by dragging the outer sliders toward center. Next select Screen as blending mode and set the layer as a clipping mask. If you want you can add a mask layer mask to soften the edges, by painting on it with a soft brush and black selected as foreground color.
Step 15
It’s time to improve the chocolate: add this Layer Style.
Step 16
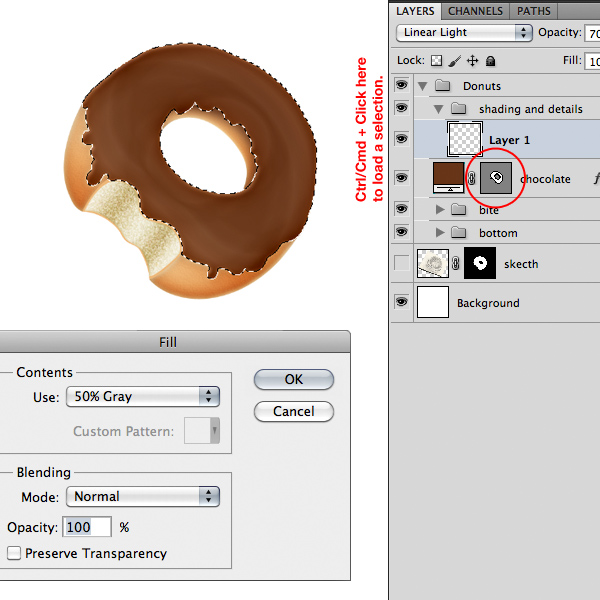
Now comes the hard part. We have to isolate each part of the donut and create a “special” layer that improve the details. To do this choose a part and load it as a selection by hold down the Command/Ctrl key and click on the layer thumbnails in Layers Palette. I’ll start with the chocolate layer. Create a new layer and fill the selection with a 50% Gray, to do this go to menu Edit > Fill and press Ok. Set the blending mode of the layer to Linear Light.
Step 17
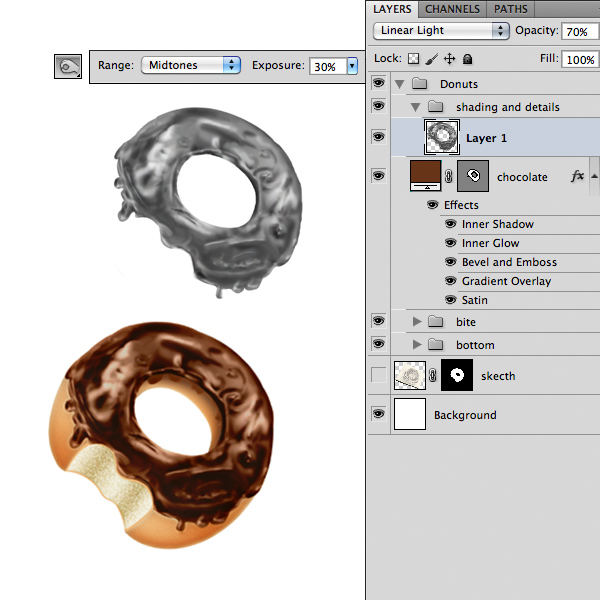
Select the Dodge & Burn tool and set it as below. Begin to paint with these tools to achieve the same result as below. Remember that you can easily switch between the tools by holding the Alt key. This is a difficult and long step because the final result depends on how better you can draw details on this layer. You can decrease the layer opacity too.
Step 18
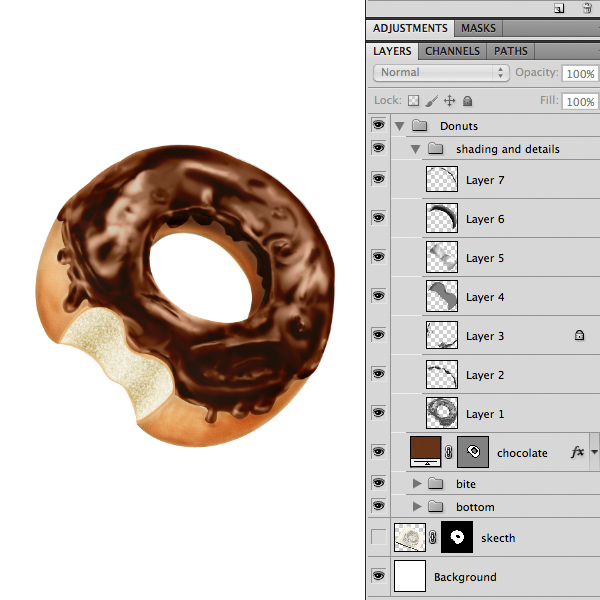
Repeat step 16-17 for each part of the donut.
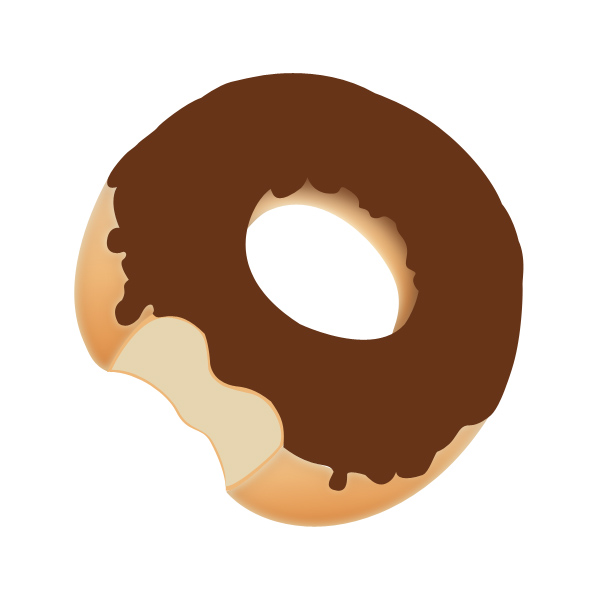
Step 19
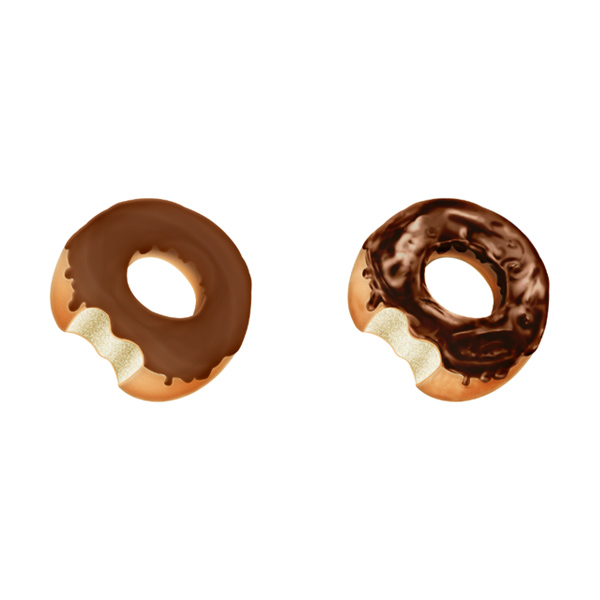
Let’s see a Before/After version.
Step 20
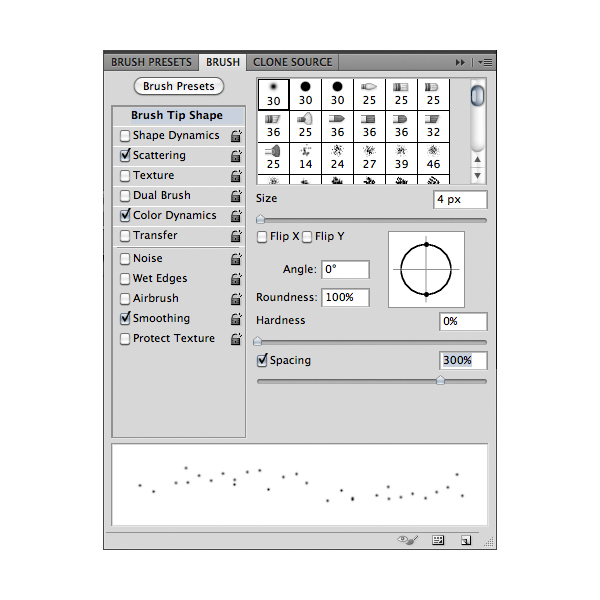
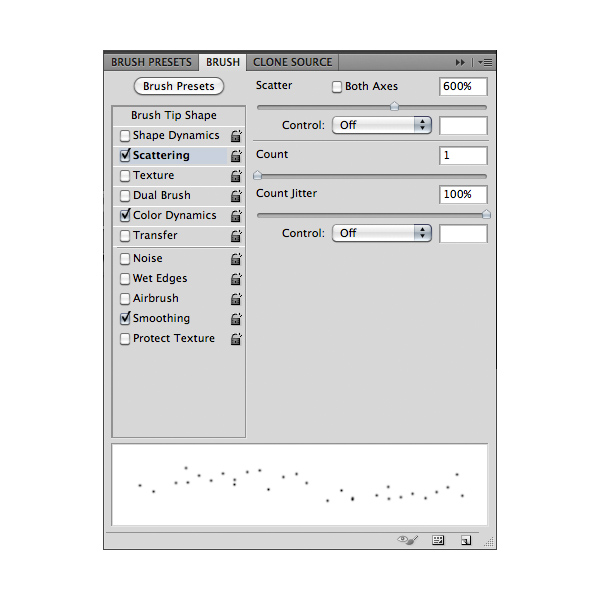
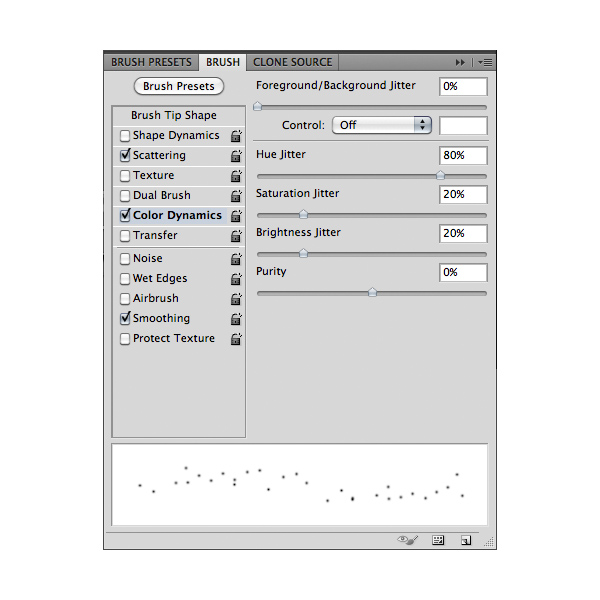
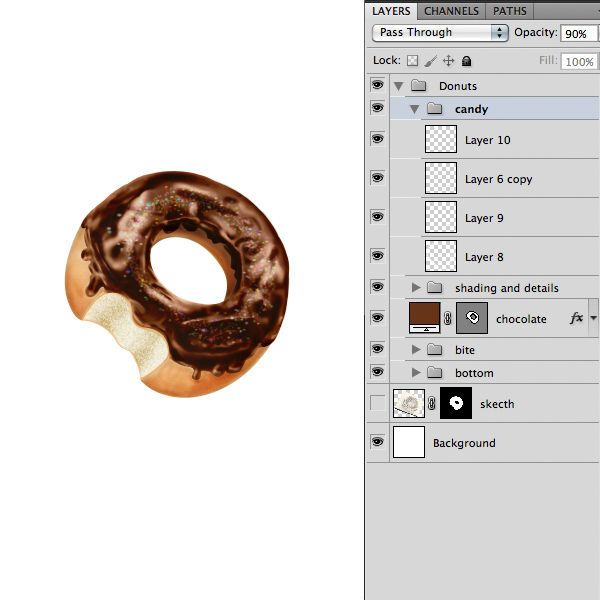
To make the little candies inside the chocolate we have to create a custom brush. Create a new layer and select the Brush Tool (B). Now open the Brush Palette by pressing F5 on the keyboard or in the menu bar Window > Brush. Select a default soft brush and add the following style.
Step 21
Add some new layers and paint with the custom brush using a color from the palette. Set the blending mode to Soft Light and try to decrease the layers opacity to achieve a smooth effect. Tip: try to use different brush size from 1 to 4 pixel.
Step 22
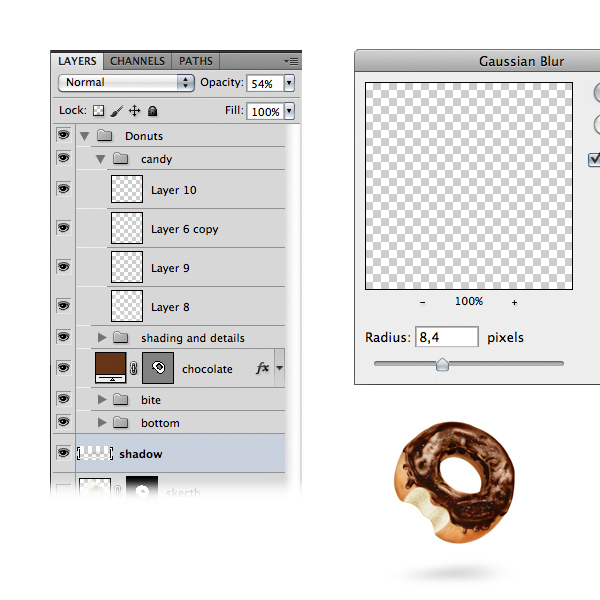
Create a new layer and with a soft brush paint some black under the donut. Next go to Filter > Blur > Gaussian Blur and use a radius around 30px. Decrease the layer’s opacity to achieve a nice shadow.
Step 23
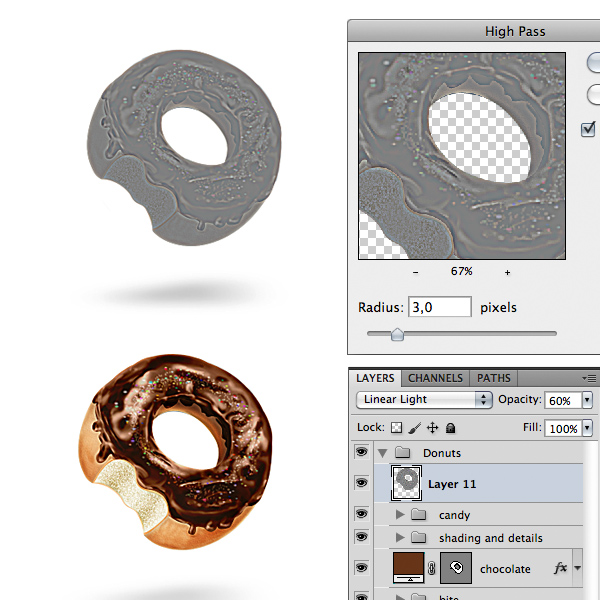
One final step is to create a copy of the donut’s layers group and flatten the layers. Next go to Filter > Other > High Pass and set a radius around 3px to boost details. Set the layer on Linear Light and if needed reduce the opacity.
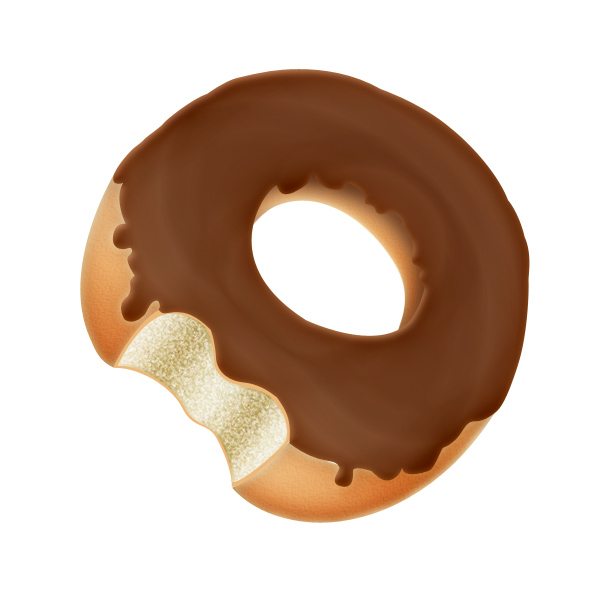
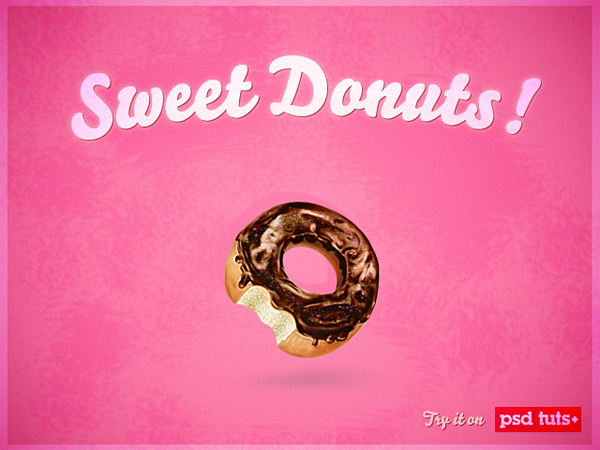
Final Image
If you want you can add a grunge background and some type. I’ve create a custom background for this project with a pink vibrant color. So here it is the final version. Hope you like it!


Nenhum comentário:
Postar um comentário